How To Fix Your iPhone Or iPad From Water Damage
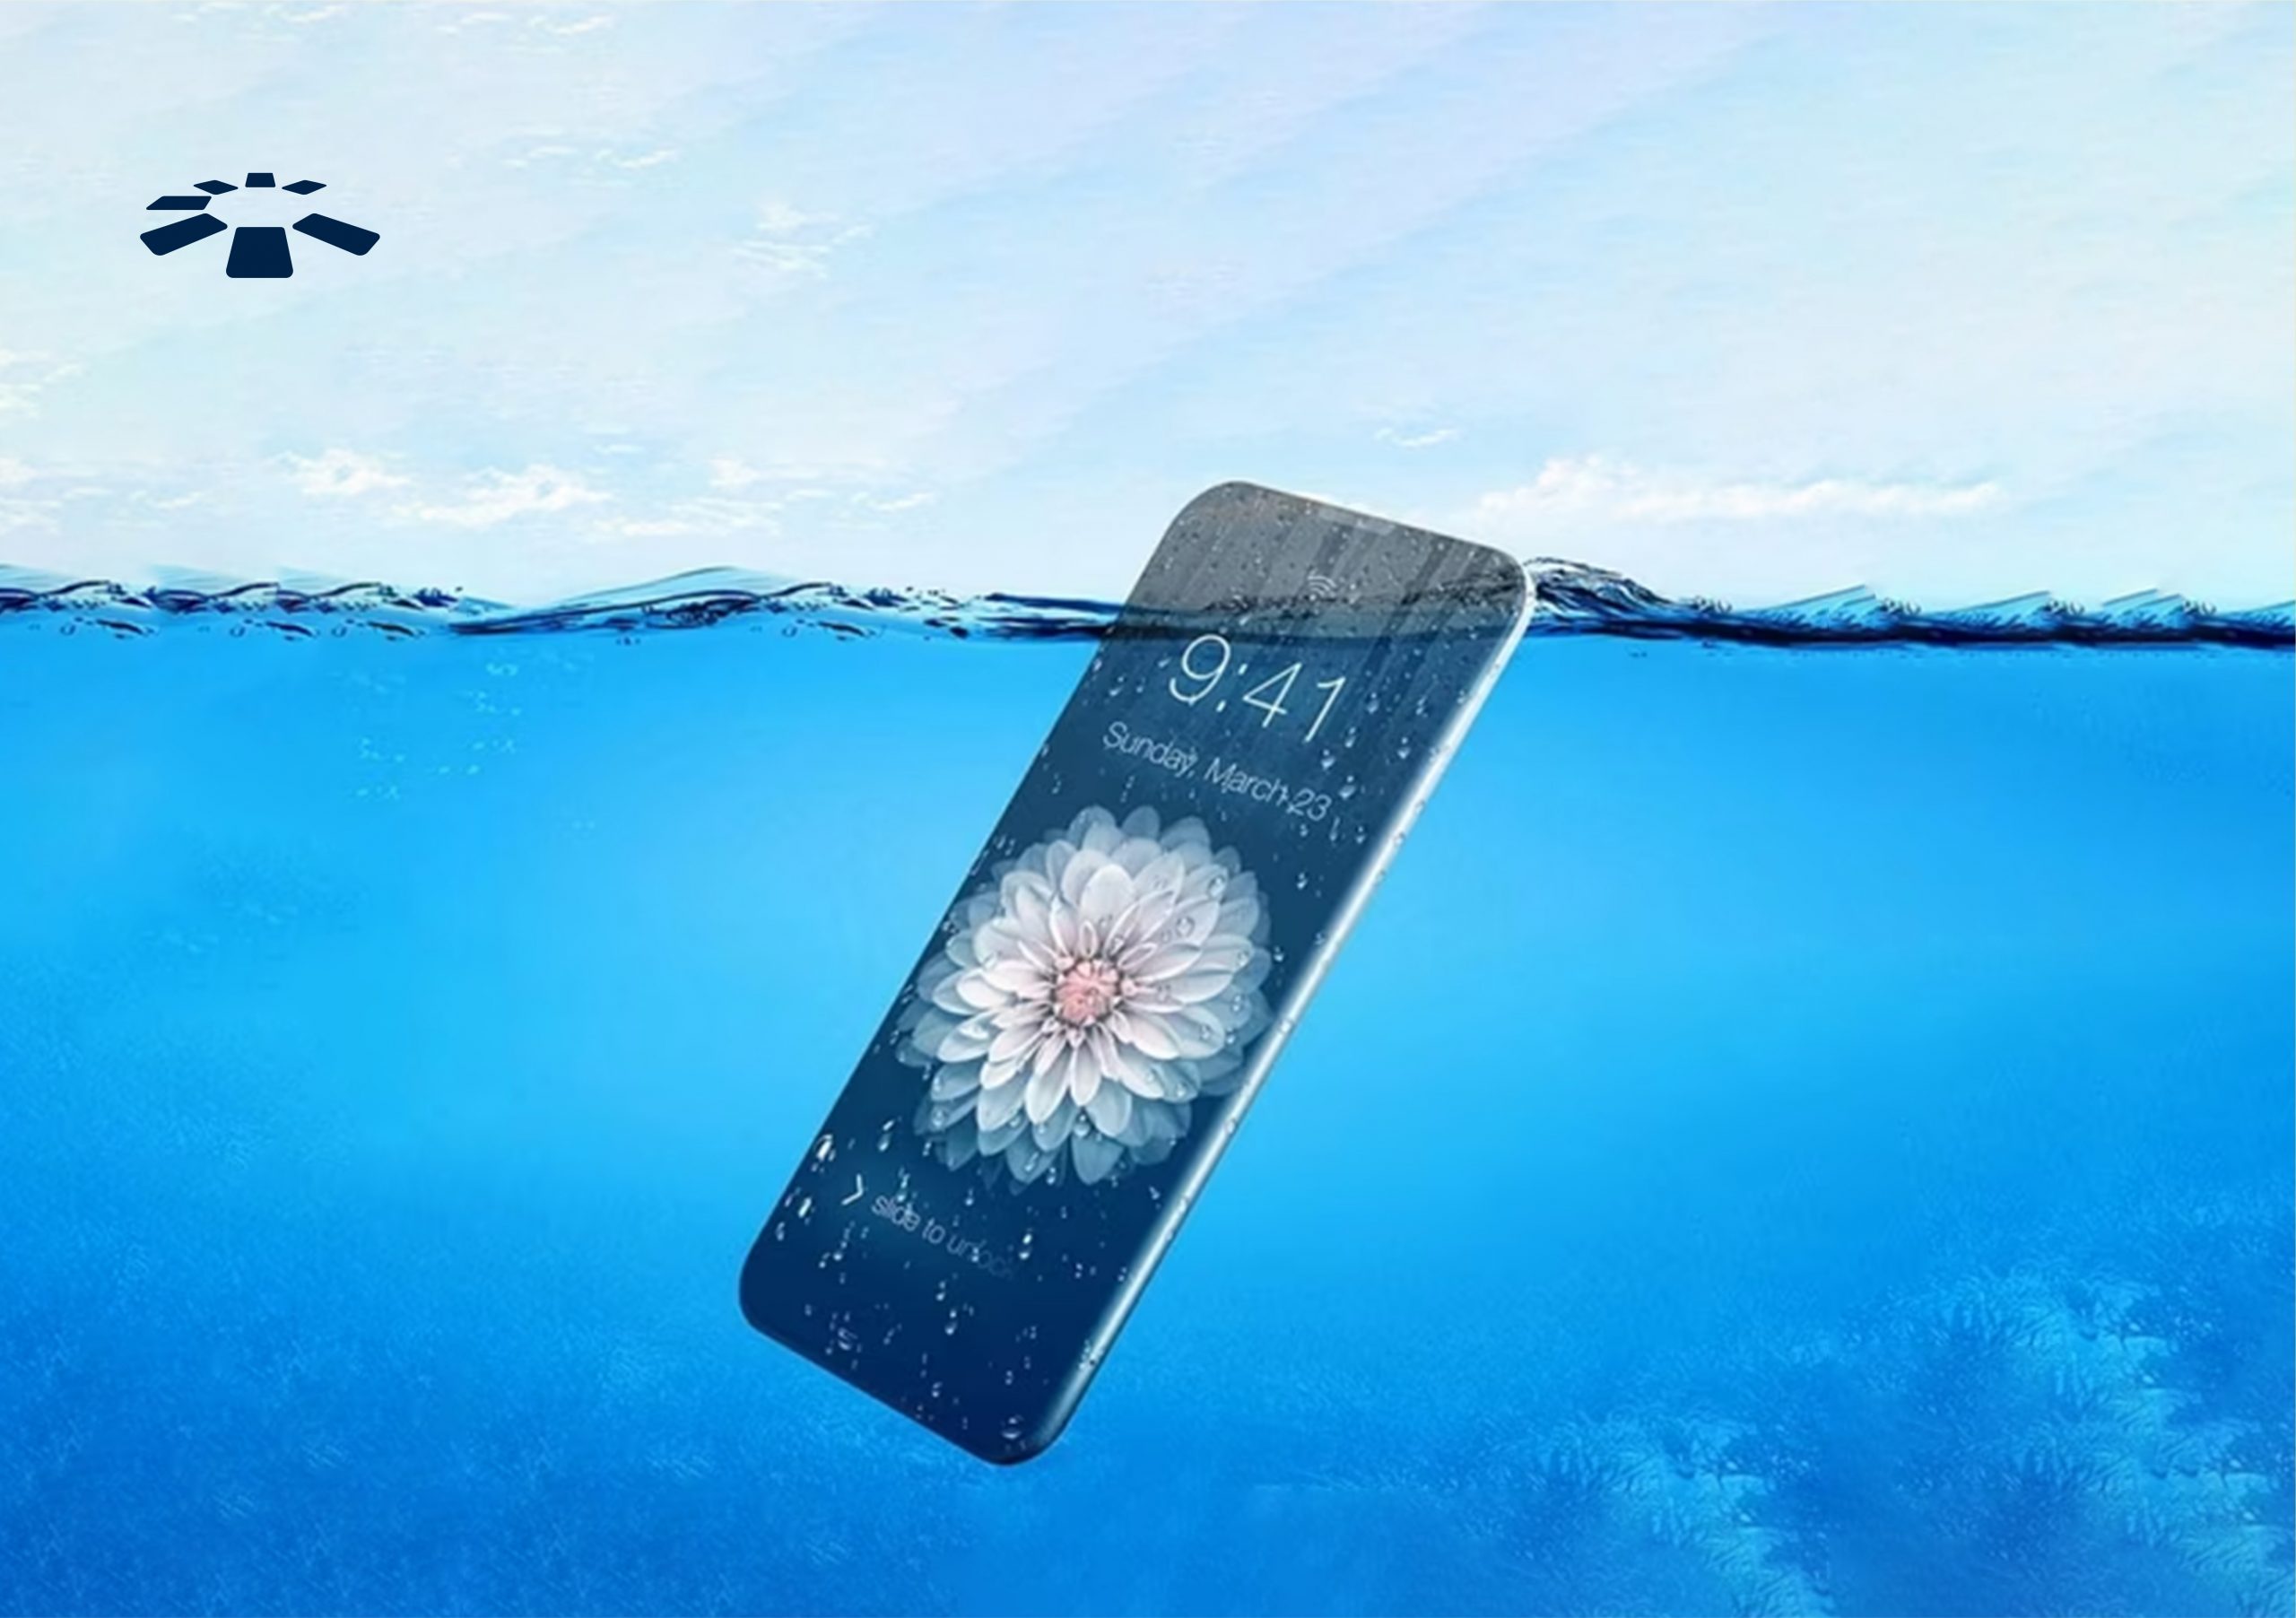
Have you ever watched those YouTube videos where people drop their iPhones into the water to test their resistance? It’s tempting to try it yourself, but trust me, it’s not worth the risk. It’s like attempting those “don’t try this at home” movies or wrestling stunts.
But let’s even say curiosity got the better of you, or worse, you accidentally dropped your iPhone or iPad in the water. Don’t panic! I’ve got your back.
I know, you’ve probably heard the age-old advice: “Just put it in rice!” But does this really work, or is it just a myth? While rice can absorb moisture, it might also leave dust that could harm your device.
So, what’s the best way to handle water damage? Keep reading, and I’ll walk you through 7 effective ways to fix water damage on your iPad or iPhone.
7 Easy Steps To Fix Water Damage On Your iPhone Or iPad
To fix water damage on your iPhone or iPad, follow these steps: turn off the device immediately, remove the case and accessories, dry the exterior with a soft cloth, remove the SIM card, use silica gel packs, air dry in a safe spot, and consult a professional technician if needed.
1. Turn Off The Device Immediately:
When your iPhone or iPad takes an unexpected dip, your first move should be to power it off. Keeping it on can cause short circuits, which can potentially fry your device’s delicate components.
Even if your iPhone seems fine, water and electricity don’t mix well. So, resist the urge to check if it still works.
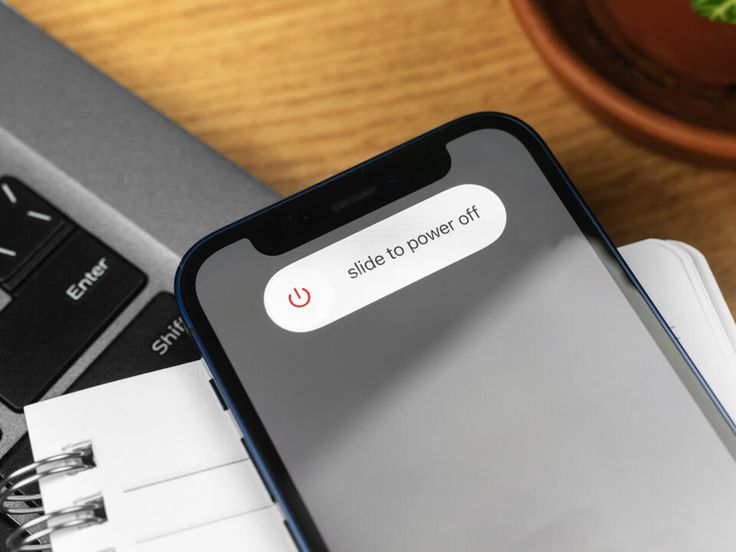
Instead, hold down the power button and slide to turn it off. This simple step could be the difference between a fixable issue and a costly replacement. Remember, it’s all about damage control at this point.
2. Remove The Case And Accessories:
Strip your device down to its bare essentials. Take off that fancy case, unplug any headphones or chargers, and remove any other accessories. Why? Because these items can trap water against your device, increasing the risk of damage.
Think of it like taking off wet clothes after getting caught in the rain. You want to give your iPhone or iPad the best chance to dry out, and that means removing anything that might hold moisture.
3. Dry The Exterior With A Soft Cloth:
Grab a soft, lint-free cloth and gently pat your device dry. Don’t rub vigorously – you’re not trying to start a fire here. The goal is to remove as much surface water as possible without pushing it into the device’s openings.
Pay special attention to the charging port, headphone jack, and any buttons. These are all potential entry points for water.
4. Remove The Sim Card:
Here’s a step many people forget: take out the SIM card. Use the SIM ejector tool (or a paperclip in a pinch) to pop open the SIM tray. Remove the card and dry both it and the tray thoroughly.
This serves two purposes: it allows another opening to dry out, and it protects your SIM card from potential water damage. It’s a small step, but when you’re trying to fix iPhone water damage, every little bit helps.
5. Use Silica Gel Packs:
Forget about rice – silica gel is the real MVP when it comes to fixing water damage. These little packets that come with new shoes or electronics are incredibly effective at absorbing moisture.
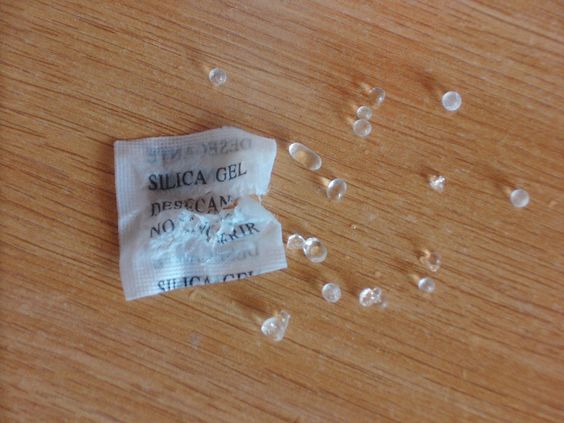
If you have some on hand, place your device in a sealed container with the silica gel packs. No silica gel? You can buy them at most craft stores.
This method is more effective than rice and won’t leave behind any potentially harmful dust. It’s one of the best ways to dry an iPhone and fix iPad water damage.
6. Air Dry In A Safe Spot:
After the initial drying, your device needs time to air out. Find a dry, warm spot with good airflow. Placing the iPhone or iPad close to a window on a sunny day can work well. Just make sure to avoid direct sunlight or heat sources – they can cause additional damage.
Position your iPhone or iPad at an angle to allow any remaining water to drain out. Patience is key here. Give it at least 48 hours to dry completely. It’s tempting to turn it on sooner but resist the urge.
7. Consult A Professional Technician:
If you’ve tried all these steps and your device still isn’t working, it’s time to call in the pros. A professional technician has the tools and expertise to properly diagnose and fix water damage.
If your device is still under warranty, consider using Apple’s repair service. They might be able to fix your water-damaged iPhone or replace it.
4 Things You Should Never Do When Your iPhone or iPad Gets Wet
When your iPhone or iPad gets wet, avoid these mistakes: don’t use the device while it’s still wet, don’t apply heat sources to dry it, don’t charge the device, and don’t try to take it apart.
1. Don’t Use The iPhone Or iPad When It’s Wet:
It’s tempting to check if your device still works after a splash but resist that urge. Using a wet iPhone or iPad can cause short circuits, leading to permanent damage. Water and electronics don’t mix well, and even if your device seems fine, hidden moisture can wreak havoc.
Think of it like driving a car with a punctured tyre – you might make it a short distance, but you’re risking far more serious damage. So, hand off that power button until your device is completely dry.
2. Don’t Use Heat Sources To Dry It:
When drying a water-damaged iPhone or iPad, avoid hairdryers, ovens, or microwaves. While it might seem logical to speed up the process with heat, this can actually cause more harm than good.
Excessive heat can warp internal components, melt adhesives, and even cause the battery to explode. It’s like trying to dry a delicate silk shirt with a blowtorch – quick but destructive.
Stick to air drying at room temperature. It might take longer, but it’s the best way to dry an iPhone or iPad without risking further damage.
3. Don’t Charge The Device:
Plugging in a wet iPhone or iPad is a big no-no. Even if your device turns on, charging it before it’s completely dry can cause irreversible damage.
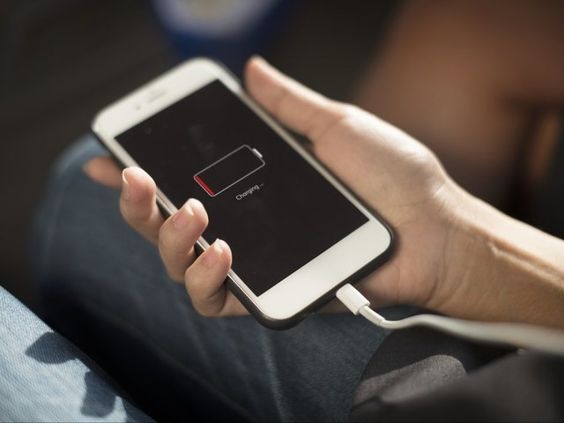
Water and electricity are a dangerous combination. It’s like jumping into a pool with a toaster – not a good idea. Give your device at least 48 hours to dry out completely before even thinking about charging it.
4. Don’t Take The Device Apart:
It might be tempting to open up your iPhone or iPad to help it dry, but unless you’re a trained technician, don’t do it. Opening the device can void your warranty and potentially cause more damage.
It’s like performing surgery without medical training – you’re more likely to cause harm than help. Plus, modern iPhones and iPads are water-resistant when intact, but taking them apart compromises this protection.
Frequently Asked Questions About Fixing Your iPhone Or iPad From Water Damage
1. Can A Water-Damaged iPhone Be Fixed?
Yes, a water-damaged iPhone can often be fixed, especially if you act quickly. The key is to follow the steps we’ve discussed, like turning it off immediately and drying it properly. Success rates vary depending on how much water got in and how fast you responded.
2. Can An iPhone Survive Water Damage?
iPhones can survive water damage, but it depends on several factors. Modern iPhones have some water resistance, which helps. But this isn’t foolproof – it’s more like a raincoat than a diving suit. The amount of water, how long it was submerged, and how quickly you acted all play a role.
3. Can Rice Fix A Water-Damaged iPhone?
While many swear by the rice method, it’s not the best way to fix a water-damaged iPhone. Rice can absorb some moisture, but it’s not as effective as you might think. Plus, tiny grains can get stuck in ports and cause more problems. Instead, opt for silica gel packs, which are much more effective at absorbing moisture.
4. How Can I Fix A Water-Damaged Phone That Won’t Turn On?
If your water-damaged iPhone won’t turn on, don’t panic yet. First, make sure it’s completely dry – give it at least 48 hours in a warm, dry place. Then, try charging it with a different cable and power source. If it still won’t power on, it might need professional help.
Conclusion
Water and electronics don’t mix, but accidents happen. If your iPhone or iPad takes an unexpected swim, don’t panic. Quick action and the right steps can often save your device.
Remember, turn it off, dry it carefully, and give it time. Avoid common mistakes like using rice or heat. If all else fails, don’t hesitate to seek professional help. With these tips in your arsenal, you’re better prepared to handle water damage.
Stay calm, act fast, and you might just rescue your beloved device from a watery grave.